Pages

Showing posts with label handwork. Show all posts

Sunday, February 24, 2013

After we learn, what do we DO?

After the learning, the challenge is to use, incorporate, combine, make something new, at least make something out of your own hands and heart, something personal, perfectly suited to you and your needs, using your own powers of adding, subtracting and incorporating; in short: creating.
Not just making. 

The quote above is by from Woven Thoughts by a weaver called Sara Lamb. I sat down with my morning coffee to read the first blog in my feed today and really paid little attention to the header (sorry Sara, it was early). It struck me as I read how important these words are for our approach to daily spiritual practice and larger acts of witchcraft or power. Study does really not add things to our lives- just to our heads.  The challenge of combining what we now do with what we might do is what brings our acts into the realm of personal and "perfectly suited to our needs".
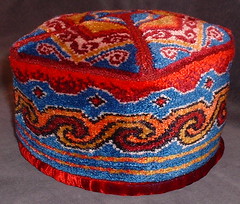
Hat4. Sara Lamb 

Also, the pictures were gorgeous!

I was surprised then near the end of her post to realize that this post is about the making of woven artworks, NOT acts of spiritual enrichment!

These thoughts on learning new things and always striving to understand them but incorporate experience, once, twice... over and over into your practice and make each act of creation your own; each act of trying again a celebration of the last act really moved me.

They have stayed with me all morning, so I am sharing them with you as a weaver of spirit as well as cloth.

Sara Lamb is the author of the book Woven Treasures: One-of-a-Kind Bags with Folk Weaving Techniques by Interweave Press, and a DVD called Spinning Silk, also by Interweave Press. Her work is beautiful and her words are very inspiring.

Friday, February 22, 2013

The historical record

Japanese shibori fabric.  Precise tied resist.

Recently, I had the chance to reply to a friend who thought that it was vain to label her beautiful woven work with her name. I couldn't disagree more!
Kuba cloth called Kasai velvet, literally woven
 CASH in Zaire.

I am very interested in the history of textiles in several parts in Asia, Africa, the northern Americas and of course I often study how Europe influenced all of these cultures and their textile practices.

As a hobbiest, I am what is properly called a "living historian" but more popularly: a colonial re-enactor. We strive to get things as close to correct for the period as possible so that merely by looking visitors to our encampments and demonstrations can learn.

As a living historian, I (and others in my club) try to spend short periods actually living under colonial conditions as closely as we can represent them for the public. I do time studies on spinning, linen processing and  weaving and try to extrapolate how valuable a piece of cloth was to a farm household... you get the idea.
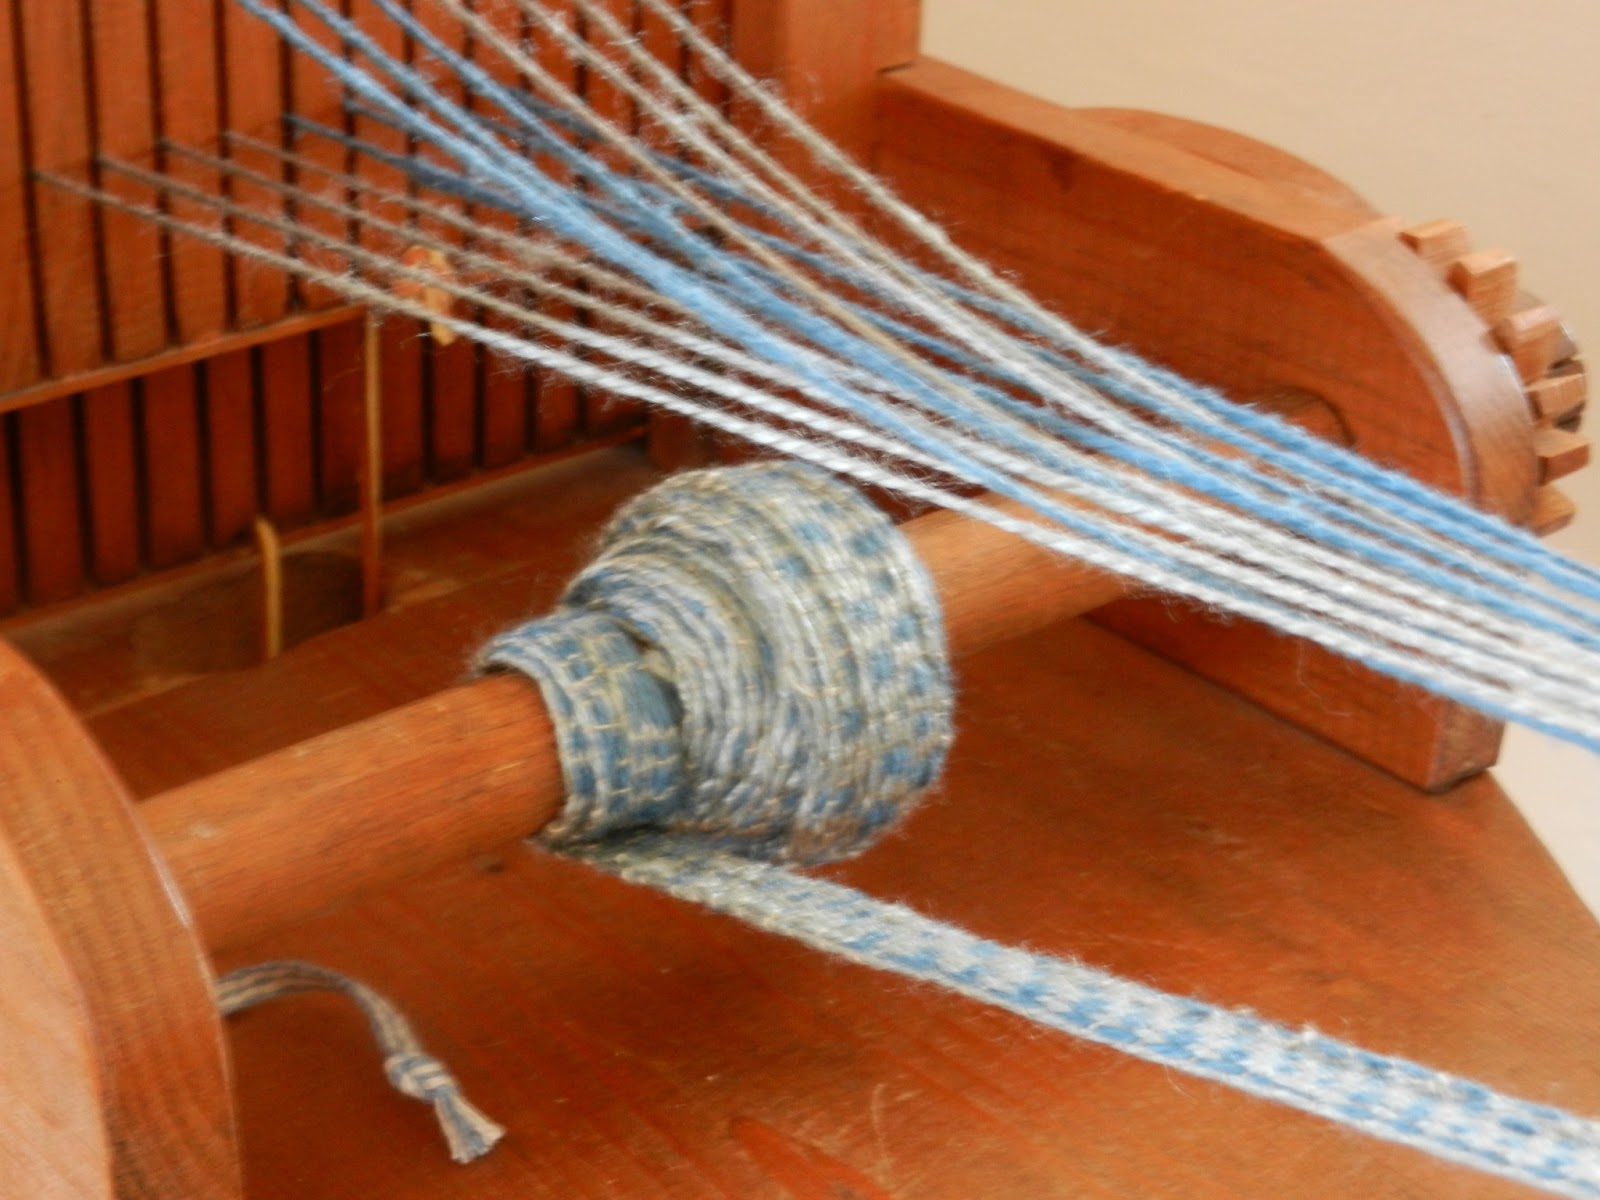
Tape weaving with linen thread on a reproduction 18th Century tape loom.

I am delighted to hear that your Aunt labeled her weaving with her own name- and Aunt Marvel was certainly the right name for her!! I'm glad you are doing the same. Because so much of the work of women was not taxed or marked in account books, the value of their contributions to the economies of the past (and today) are lost (read the diary of Martha Ballard in A Midwife's Tale by Laurel Thatcher Ulrich to get an idea of how important weaving was to a town's economy and how it was only peripherally recorded in the account books as raw materials ordered).

When you get your next set of labels made, may I suggest that you add your maiden name if Peterson is not it? Quilt makers have adopted this notion and it makes tracing an artist's contributions so much easier then we have two family names to search!

You are not vain, you are contributing to the historical record!!

Thursday, February 14, 2013

Art & Love part 2

Watercolor study of reds.  I wrote "I love you" all around in the shape of a heart.

When last you saw the parts for the woven valentine I made this year there were cut strips of papers I have inked and painted, a love letter, some "I love you" messages and a big pastel heart.

The background is mainly light and the foreground mainly dark.  
The heart of "I love you" on the dark red paper overlaps with the red pastel heart on the long background strips, but after weaving a few inches I can see that it doesn't read as a heart.  The contrast of the light and dark highlights the weaving but the heart is too delicate.  It needs repetition, something to show the eye where to look for the angles of the heart design.

There are plenty of touches of orange in the paper, so I chose to paste a yellow watercolor heart cut from my paper stash onto the background.  I then repeated the pastel drawing of a heart on that.  That should do it.

The weaving pattern is called a 2/2 twill.
Strip by strip I cut and then wove my messages and images and colors together.  

I like the way the yellow heart is not traditional, but makes the whole thing bright and cheery.  Like a little sun.

I considered writing on the heart too, but I decided against it because this is busy enough.  


There has to be a few places where your eye can rest, not just work, work, work to read and understand.


Happy Valentine's Day.


Not just to my loves but to my readers and Valentine's Blog Party friends too!


Tuesday, February 12, 2013

Yarny love

I keep going to look at the beautiful three dimensional crochet Valentine here at Cornflower Blue.  Rachel does amazing things with yarn, every one of her ideas inspires me to use materials I have seen in new ways.

The beautiful heart looks like it is made of sea urchins or barnacles or some other amazing sea life to me.  It has been chosen to be on the cover of the Valentine special edition of a Madison Wisconsin newspaper.  Do go visit Rachel and see more of what she can do!

This post has been linked to the Valentine's Blog Party 2013.  Go see what else is heart shaped and hot for February!

Monday, February 11, 2013

New Pagan Art Journal

I am so delighted to participate in the 52 Weeks of Pagan Art Journaling Project that I decided I didn't want to just start cramming my entries into my regular daily journal.  So, in typical overachiever style I made a journal just for the project.
I cut 15 pages to size for the outside of each signature so the spine would be uniform looking.  I pressed each fold crisp with the bone folder visible on the top of the stack.  The distracting pile of sketchpads was there to supply paper and later to provide pressing weight on top of the bull dog clips. 
I stitched signatures made of all different kinds of paper together, just to begin with some variety already built in to my new journal.  I've been kicking this idea around for a while but I admit I usually make books in a big hurry for a gift or specific need.  For this book I had time to go slowly and play with papers, and I did.

I used a few watercolor monochrome pages I painted and stored to use when I needed some texture and color but not a specific picture.  Last year I bought a book of card stock with general monochrome print backgrounds from a bin of discount scrapbook paper and have hardly found a use for it so that got cut up too.  Along with ivory colored sketch paper, these made the bulk of the 10" x 14" sheets which folded to 10" x 7" pages.  After that, I added some envelopes, partial sheets of plain watercolor paper and a few pages of odd sized brown craft papers.  There are 15 signatures of 3 pages each, one or two have 4 pages.  That should be plenty for 52 entries even with a few duds I cut out and remake!
I folded the signatures together and added a smaller page or envelope to most of them.

After folding the signatures and adding the odd sized pages I pressed them well again with a bone folder.  Then I taped the three linen tapes for the spine to my work surface and stacked them in the order I wanted them to appear in the book.


I made a card with marks where the holes should go near the ends and beside the tapes.


You can see the card with the hole markings here, and the punched holes beside it.
I added arrows to make the marks more visible for the picture.


Then I took each signature off the pile and punched holes in the fold through all the page layers.  I used a magazine opened to the middle to make a place to lay the fold and punch into it.
Row of holes ready to stitch and linen tapes attached to
 the surface below the work.  Beeswax and linen thread on top ready to go.


 I stacked them back up in order and then moved the whole pile to the side.


My assistant was no help whatsoever.
 As soon as she realized that my awl had an antler handle
she forgot all about hole punching until she was caught.


After all of the holes are punched and you have the pages in the order you like them you stitch along the length of each signature and tie it to the one below.


As you stitch around the cloth tape at the spine you form a flexible back edge that will open well for writing or drawing.


Leaving the tail on the outside you bring the needle through the first hole to the inside, then in and out along the row of holes.


Tie the starting tail to the thread as it exits the hole on that end the next row.  After that, loop a stitch around the row below on the outside each time you reach the end of a row.  The pictures below show the linked end stitches one above the other.


Sew the waxed thread through the pre-punched holes in each fold.  

Pull the thread to the outside and be sure to go around the outside of each tape.  Keep everything nice and snug.


In, out around each tape. 


 It takes time to keep layering and sewing the folded signatures on one at a time, but it makes for such a neat stack.

I used tapes on the spine instead of a heavy doubled thread because I want to leave the spine exposed as a pretty design element of the journal.
Here you can see the stitches going around the tape for each new folded signature added.  You can also see the stack of linked stitches on the end holes. Each end hole stitch is attached by looping it through the stitch below it. 
I used bulldog clips to further press the whole stack
 for a few hours and tugged the tape snug .  
To hold the tapes down on the outsides of the text block I have just made, I used PVA glue to add a piece of thin linen fabric to each side.  This is actually a folded strip of handkerchief linen, because I want a neater folded edge to show near the exposed spine.
 The spine with the glued linen strips was shielded with parchment paper to keep it from sticking to everything and pressed between the boards with the bulldog clips again.


Here is the whole stitched book.  You can see how many of the pages are full size but there are heavy watercolor paper strips and all kinds of other things in there.  I hope that running into the different papers is a good challenge to inspire me to try different techniques and approaches all year.

Sometimes staring at another blank page just sends me into a creative straight-jacket!


This looks pretty inspiring to me now.
The spine is really flexible and pretty.  You can see the tapes glued down under the strips of fabric front and back.

Covers are glued to folded endpapers inside the front and back page.
The covers I have were reclaimed from another journal with really cheap, absorbent and yucky recycled paper.  Everything I did on that paper just smeared and wrinkled and made me feel helpless.  I was so glad when I realized the problem was mostly the pulpy paper!!

These covers are 10"x 7" with holes from a spiral binding.  I haven't decided yet what to do about the holes.  They could have beads stitched into them or ribbons laced through them, but that will make it hard to shelve this journal later.  I don't have to decide about the cover today.  Eventually it will be covered with a brown striped silk book cover paper I have.

You can find great instructions step by step for making bound and stitched books at T. J. Bookarts.

If you are doing the 52 Weeks of Pagan Art Journaling this year, please leave your link for me to go see it!

Thursday, January 31, 2013

New Old Loom: warping with no cross

Sectional warp beam, all wrapped up and my seat of the pants thread ordering method. I put tape sticky side up on
 the back beam and on a lease stick, combed the heck out of each section of the already warped beam
and stuck it down as close to in order as I could. then I climbed around inside the front of the loom
and pushed each little thread through a heddle in a straight draw, that is 1-2-3-4,1-2-3-4.
I received the back beam of the New Old Loom wrapped with beautiful linen warp. Unfortunately, it had been cut from the last project and wrapped for storage onto the big beam without separating the threads into two groups of every-other thread. That is called the cross, and it keeps the warp threads from tangling as you pass each thread from the back beam through its heddle and reed slot and set it up to be woven and wrap onto the front beam.

WITH a cross, you can pick up a thread and know that the next thread below it is the very next thread in line. With the warp on the beam and no cross preserved from the previous project, I have the threads in rough groups of forty or so but in each little group, who knows how I can keep the tangles out?

The interwebs know, that's who.

I know I could unwrap or cut the old warp off this beam but
A: there seems to be a lot of it and
B: I know it was warped using a rack of spools so it's probably pretty neatly done and
C: Linen isn't cheap and I love a challenge.
Heddles from the front of the loom. Temporary lease stick with sticky tape and
the combed warp threads right behind the heddles where I can grab each
thread in order and stuff it into the hole in the middle of each heddle.

I've been looking hard in all the good places on the interwebs for smart peoples' advice on how to warp when you lose the cross.  It happens to a lot of people, it seems.  Some people (a surprising number, actually) just can't face it. I am not those people. Most people who have been weaving for a while realize that a certain amount of tangle is possible to deal with if you first thread up the warp in as organized a way as possible and then raise every other thread by lifting the heddles to make a plain weave shed and sliding really long sticks called lease sticks into the 2 plain weave sheds.

Then, you just slide the sticks back, tie them to the frame and go. as the warp advances, comb the tangles behind the lease sticks ad slide them back again as far as they will go.

I scrubbed the first shaft full of little metal heddles in front and put them back on, but I decided to just give the rusty back three sets a try on this free warp.  I'm eager to get going and I've been cleaning loom parts for two weeks thanks to my stubborn work on some rusty parts that couldn't be saved at the beginning. I couldn't wait anymore, but the front ones look great and I'll get to the rest soon. Really.

That is the plan. If the amount of tangle is manageable, I will get to play on the loom with a free linen warp for a long time. If it is simply too seriously tangled for me to be able to keep pushing the snarls back toward the beam, I'll get to weave a foot and then I will HAVE to cut it all from the back and begin with a brand new warp with a properly made cross.

I can only find out by trying. 

Friday, January 11, 2013

A is for Amulet charm bundle

Many years ago I wondered what a REAL Book of Shadows looked like. Mine looks like this. 
Amulets are one of my favorite things to make, and a really nice way to bear in mind an intention you are working to make real. They are like little tangible thoughts, and may be accompanied by gestures, words or sigils. A charm can just BE a word or sigil, it you desire. If it is a word, you can time it so it is said at the perfect moment, when the sun just sets or when you drop a bulb into a hole. 

The charms I make address a specific intent, like protection, love or attraction.  The right time of the moon is always taken into consideration, waning, waxing or Full. I don't make charms on the New moon, it is time for other things. I think of a charm as an offering for the Goddess I ask to help, a focus to frequently remind me of the intention I held while making it and to act as a passive reminder.  In my studies of local Pennsylvania and other rural folk magic and medicine there is frequent use of verbal and bundle charms. The amulet I am sharing today is a bundle charm.

Hand sewing is something I love, it is meditative and takes time. So, I gather my hand sewing supplies and some linen fabric too make the outside of the amulet, the bag. 
Using a rectangle about 2" by 4" folded it in half I stitch around the outside edge on two sides. One side is open, so the square is turned inside out, edges pressed with the bone folder (in the picture I have one carved like a feather) and stitched again with linen thread all the way around 3 sides. Fold the raw edges of the forth side in and stitch it partway shut.  These two seams are tight enough to hold herbs or salt inside the bag.

Now is the time to get the rest of the amulet supplies you will need. You know what you need to do your magic work, I can only show you a bit of what you might find here.

I gather my sewing supplies and stitch two sides of my folded linen rectangle using plain thread. Also pictured, red silk thread, needle case with spare horn buttons attached, carved bone folder, blue checked linen I didn't need today, thimble.
 Folk magic uses red thread and salt frequently, so before I begin the filling I make a final round of stitches using red silk thread. My desire is knotted into the red thread, in this case I made 5 knots, you can see them in the last picture. I stopped the red stitches short of the opening too. Salt, rosemary, quartz, a tiny felt heart and my words to Brigid and Aphrodidte went inside.
Linen fabric, sewing tools, little gemstones (I buy them on strings) salt, anointing oil, your hair, or your written intent could go into the amulet. I also included herbs and a small candle made of beeswax and an old earring from my hubby.

Note to the goddesses I am addressing on linen.
String of gems to choose from. Anointing oil and salt.
On different page of my BOS I recorded the details of a special
amulet a fellow asked me to make for his uniform coat.


 Include what ever things support your intentions and work to your purpose.
Of course the salt goes everywhere! Mugwort, rosemary, garnet and red wool heart went in next along with the candle.
When filled and stitched, my amulet was dedicated  and anointed before I put out the candle I used to focus.
See the place of 5 little knots in the red thread?


The soldier's protection and wholeness amulet was sewn within the coat itself, but you can feel it through the pocket.

Carry yours in your pocket or around your neck, or place it in a room or in the garden.


Friday, January 4, 2013

Asking + Action = Attraction

Know how to seek the best path for you.
Practice your practice. 
Listen to your needs and desire. 
Focus your intent. 
Follow your intent with Action, Asking for guidance on the way. 
Everything you truly need will come to you.

It has always worked for me. This is the story of how it worked a little differently.

Offerings are easy. I have no trouble remembering to thank my goddess for her blessings, seek peace or direction as a part of a ritual. These things come easily to me because I have done them over and over many times.
I seldom work magic for others, I occasionally work magic ON others when they ask for my help. I often meditate to align myself with understanding of what is happening and to strengthen my instinct to follow the best path. I also use magic to impart power to my herb crafting, cast protection where its needed, cast a circle or connect me to the divine.
I can't remember the last time I ASKED for something concrete for myself. Not that I do without and go without, I take pretty good care of myself and remember to include treats too. I don't feel like my goddess is really here to fill my wallet or send me a car... the guidance for the right path and my job are for that. I ask for wisdom, to manage situations, finances, relationships. I feel I receive. Even when things are difficult, I have never felt rudderless or without resources. To me that is no accident.
Maybe its a humility thing. Maybe I feel like I should give more than I get, since the goddess is my elder and has far more wisdom and experience than I.
The barn loom I didn't buy. It was a part of my day on the sheep to shawl team.
I am in the midst of some of the most mindful years of practice and meditation I have done since my late twenties. I stop to reflect, make offerings, stay in touch with the magical community as never before. I begin each day with a candle and devotion.  I stopped in to touch base with my friend, Liz, who owns a yarn shop and many looms.
I mentioned to her that I had recently been a substitute on a sheep to shawl team (they are very hard to get a place on) and loved it so much that someone was moved to offer me a huge barn loom for $500. I told Liz that since my partner is looking for work I didn't feel good about spending $500, and that a barn loom is really too huge for us. If she heard of a modern floor loom going begging for a home, or one for only two or three hundred, could she let me know?
Then we laughed. Floor looms, even the simple one I'd like, go for $1,500 to $3,500 new and since the economy is bad, Liz said, everyone is trying to get top dollar for the used looms- nothing much under $800-$1,200 was being offered used to her. Oh well.
At home, I refocused on my regular stuff, and had a lovely conversation about a job offer that was pending with my dear. I told him that the giant loom I had mentioned was not for me and that I would stick with my tabletop one for now.
Grey wool, carded, spun and woven by me!
Asking was unlike me, but I honored my heart because I had been thinking about a floor loom from early October to late November. Asking, just focusing my intent and following my intentions with Action by going in to the yarn shop and putting a voice to the desire was what it took.
The very next day Liz called me and told me there was a loom, exactly what I hoped for and entirely FREE if I could get to a retiring weaver's farm 12 miles away by the next day. Of course I could!
My Weaver-Godmother had put her farmhouse, gorgeous gardens and out buildings on the market after recuperating from a big heart incident, and it sold at once. She hadn't had the time she expected to sell antiques and hobby tools- she just called Liz in a panic and said "I want them to go to a good home before the dumpster and cleaning team arrives on Saturday".
It was the practice that has made me able to focus the power all around us to my intent. It was the Action of Asking that made it into an Attraction spell. Because I have been practicing it was there in me as I focused and asked. It was the same as saying:
I open the gates of the power 
within and around me and welcome
a loom into my life. 
So Mote it be.
You better believe I've been keeping up with that daily devotion!